Since the last photoshop session I hadn't really progressed a great deal. I was still drawing out the skeleton and adding a base outline of the exterior, so in our fourth lesson I decided it was time to crack on (with the encouragement of Phil) with adding fur and colour to my designs. This is what I got up to:
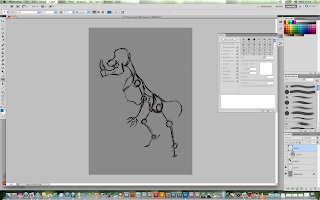 |
| Initial skeletal outline |
This was the original skeleton design for this, just using lines and circles to represent the bones and using minimal detail.
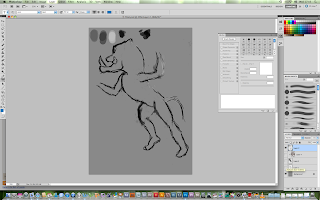 |
| Addition of base outline and palette of colours |
Then I moved on to add the base outline of the piece, with a few changes to the designs after the previous weeks tutorial. I decided to humanise the lower leg more as the previous design was too much boar not enough human. I took away the extended heel of the foot and extended the nose/snout to cover more of the exposed lower jaw.
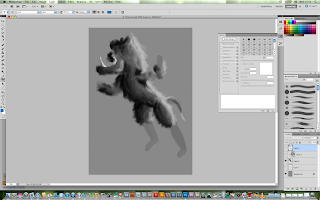 |
| Addition of the fur using my own fur paint tool |
Here I started using a fur tool that Phil showed me how to make, and I started to apply it to the outline of my hybrid adding shading where needed and including some fur on the arms which is a new feature I wanted in the design.
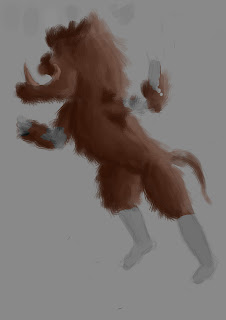 |
| Adding colour to the fur |
As the final part of the session I started to add colour to the fur using a new screen layer and a dark shed of brown.


No comments:
Post a Comment